“No one knows or cares who I am from a hole in the wall, so why do they need to know about me, the author?”
This is a common thought among many self-published authors, and a fair point, especially if this is your first book. But remember, your name is on that book, and readers do care about that. Just as we can’t help but judge a book by its cover, as readers, we can’t help but judge whether we want to invest in you by your author photo.
You’ve put a lot of thought into the content, editing, and design of your book, and that same careful calculation should go into taking the perfect author photo for your platform. While it may be tempting to boycott the author photo altogether, having a professional photo can go a long way.
If you look at Amazon’s top 10 bestselling authors on any given day, you’ll find they all have headshots that accompany their author bios. So, if you ever aspire to be the next Stephen King, or Margaret Atwood, get yourself camera ready!
The most important reasons to have an author photo taken right from the start are to give readers a sense of what kind of book they can expect from you, and to reinforce your credibility as a published writer. There’s a lot you can convey about your writing persona and style by the way your photograph is taken. Not only that, this photo is your key to being taken seriously in the literary industry.
While the central purpose of an author photo is to accompany a bio on the back cover of your book, they can also add professionalism and transparency to your website, promotional materials, and be quite handy during press opportunities.
So, here are some Tellwell tips for getting that perfect picture:
Your author photo should not be a selfie! If it looks like you snapped the shot yourself, you’ll lose some serious credibility as an author, so do yourself a favour and get someone else to take the picture. You don’t need to hire a professional (though it would certainly help) just find someone you know with a decent camera, not a smart phone.
Readers want to see your face. In this photo, you’re the star of the show, so let the camera get up close and personal. While the picture doesn’t have to be a headshot, it’s best to get a clear image of your face.
Don’t blend into the landscape. Consider the background for your photo very carefully. Again, you want to be the focus of your photo. While you don’t want the background to be an obvious backdrop, like the bookshelf from third grade photo day, you’ll also want to avoid choosing a background that will detract from you. Save your pictures from your trip to Rome for something else, and pick something modest.
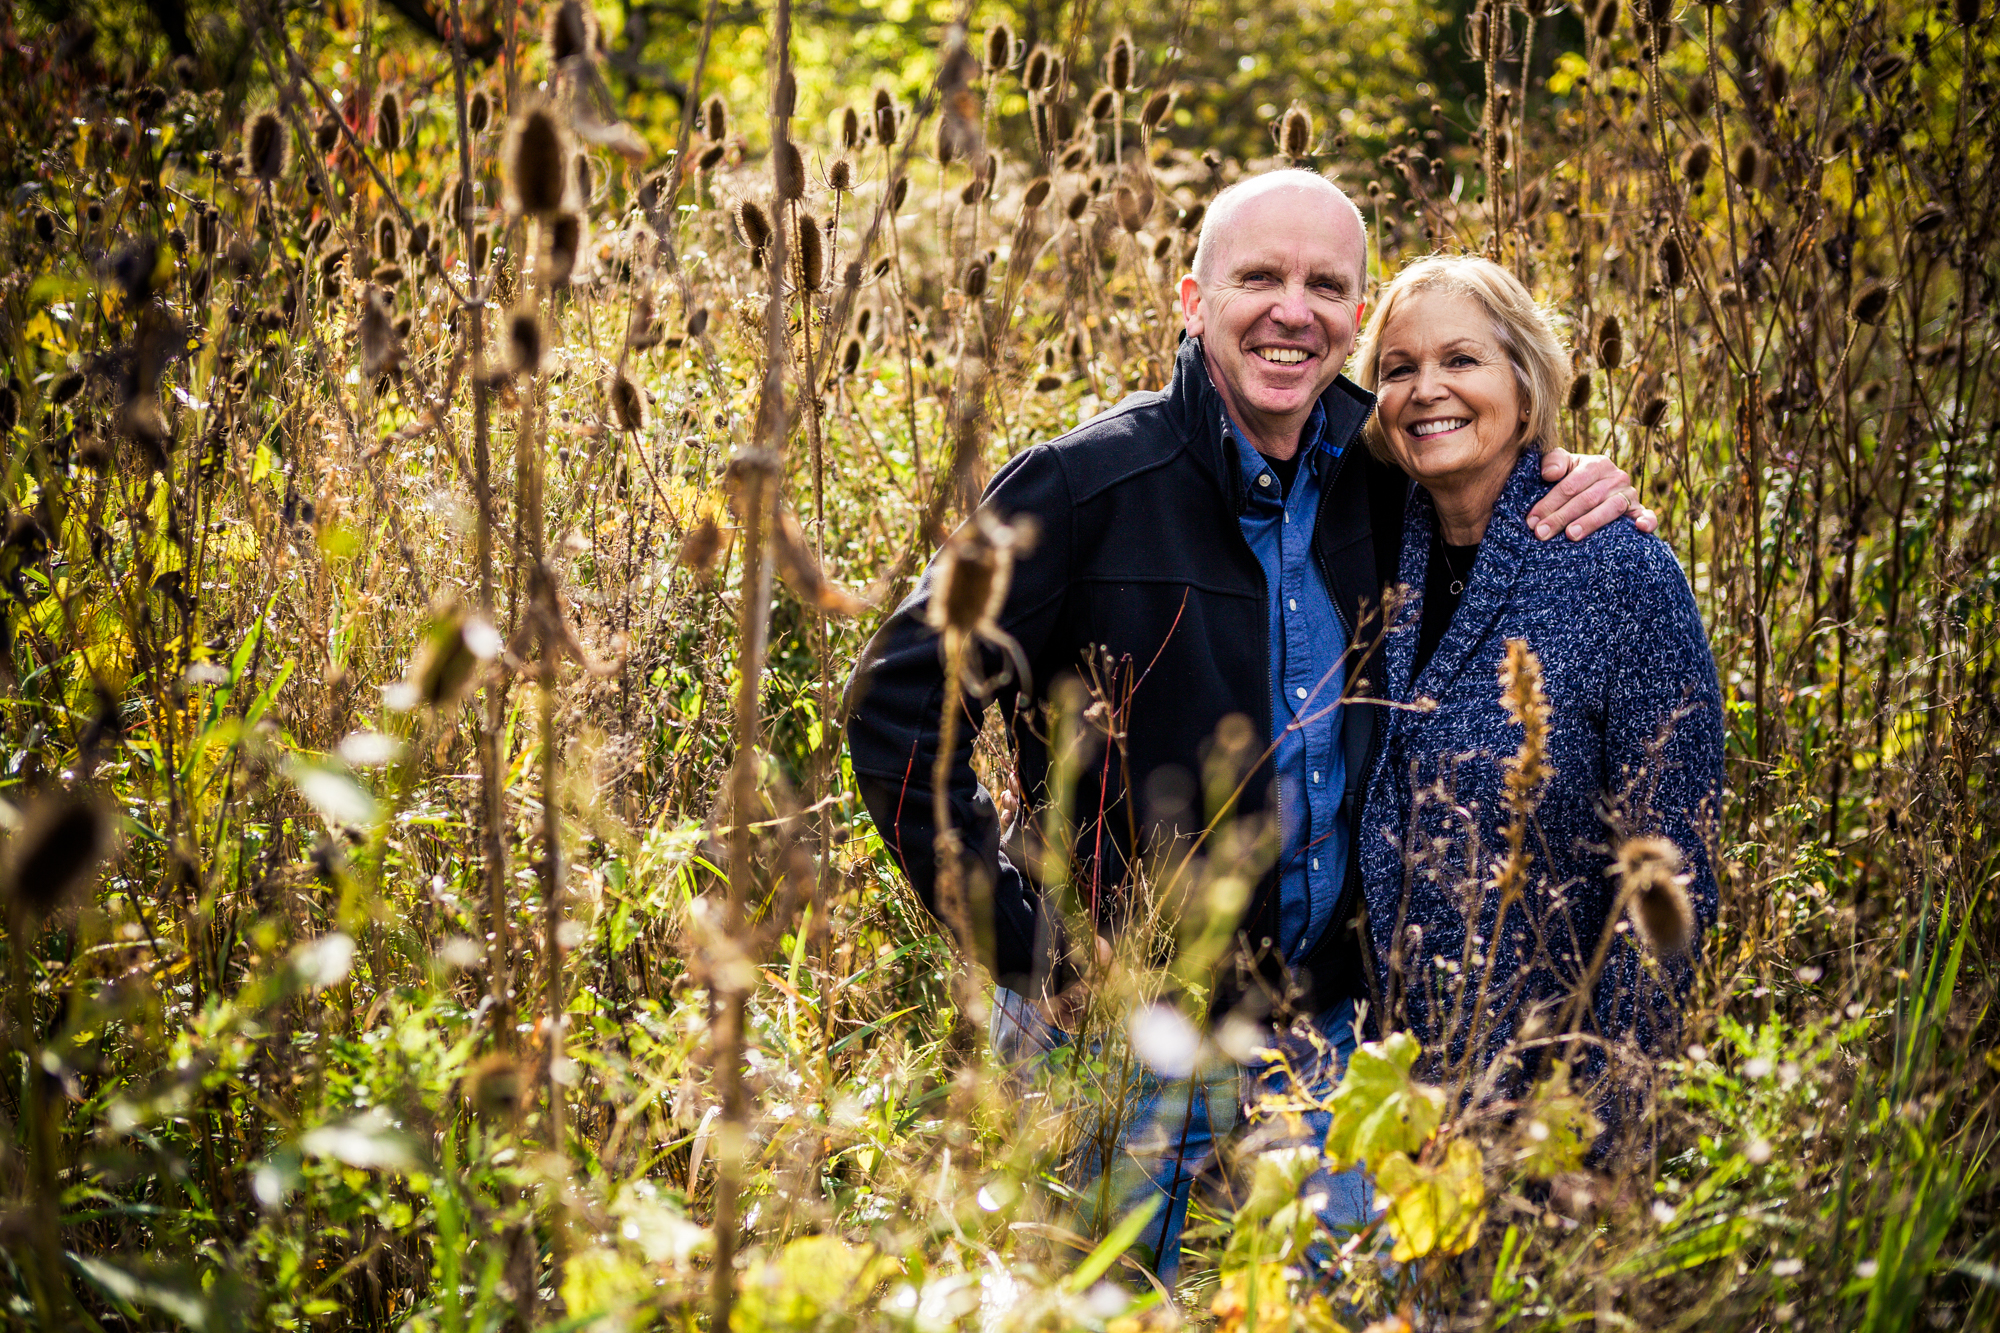
Mike Wilkins ensures he is the focal point of his author photo.
Colour is best! Unless a black and white image is thematic with the book itself, get your photo taken in colour. On that note, keep the colours natural and save the filters for Instagram.
Take a good quality photo. Although you don’t need to be a photo wizard, consider the brightness, contrast and angle of your photo. Don’t take your photo in the blazing sun, or in a room so dark you can barely make out your face. There’s no need to be facing the camera head-on, but make sure your face isn’t on a slant. If you do tilt or turn your head, make sure it doesn’t look strained and unnatural.
Think of what you want to convey to your audience. It’s important that your author photo reflects the brand you’re establishing for yourself, so consider the genre and tone of your work. If you’ve written a book about a loved one suffering from mental illness, you may not want to be smiling broadly in your picture. Likewise, if you’ve written a series of children’s books, don’t go for the pensive stare.
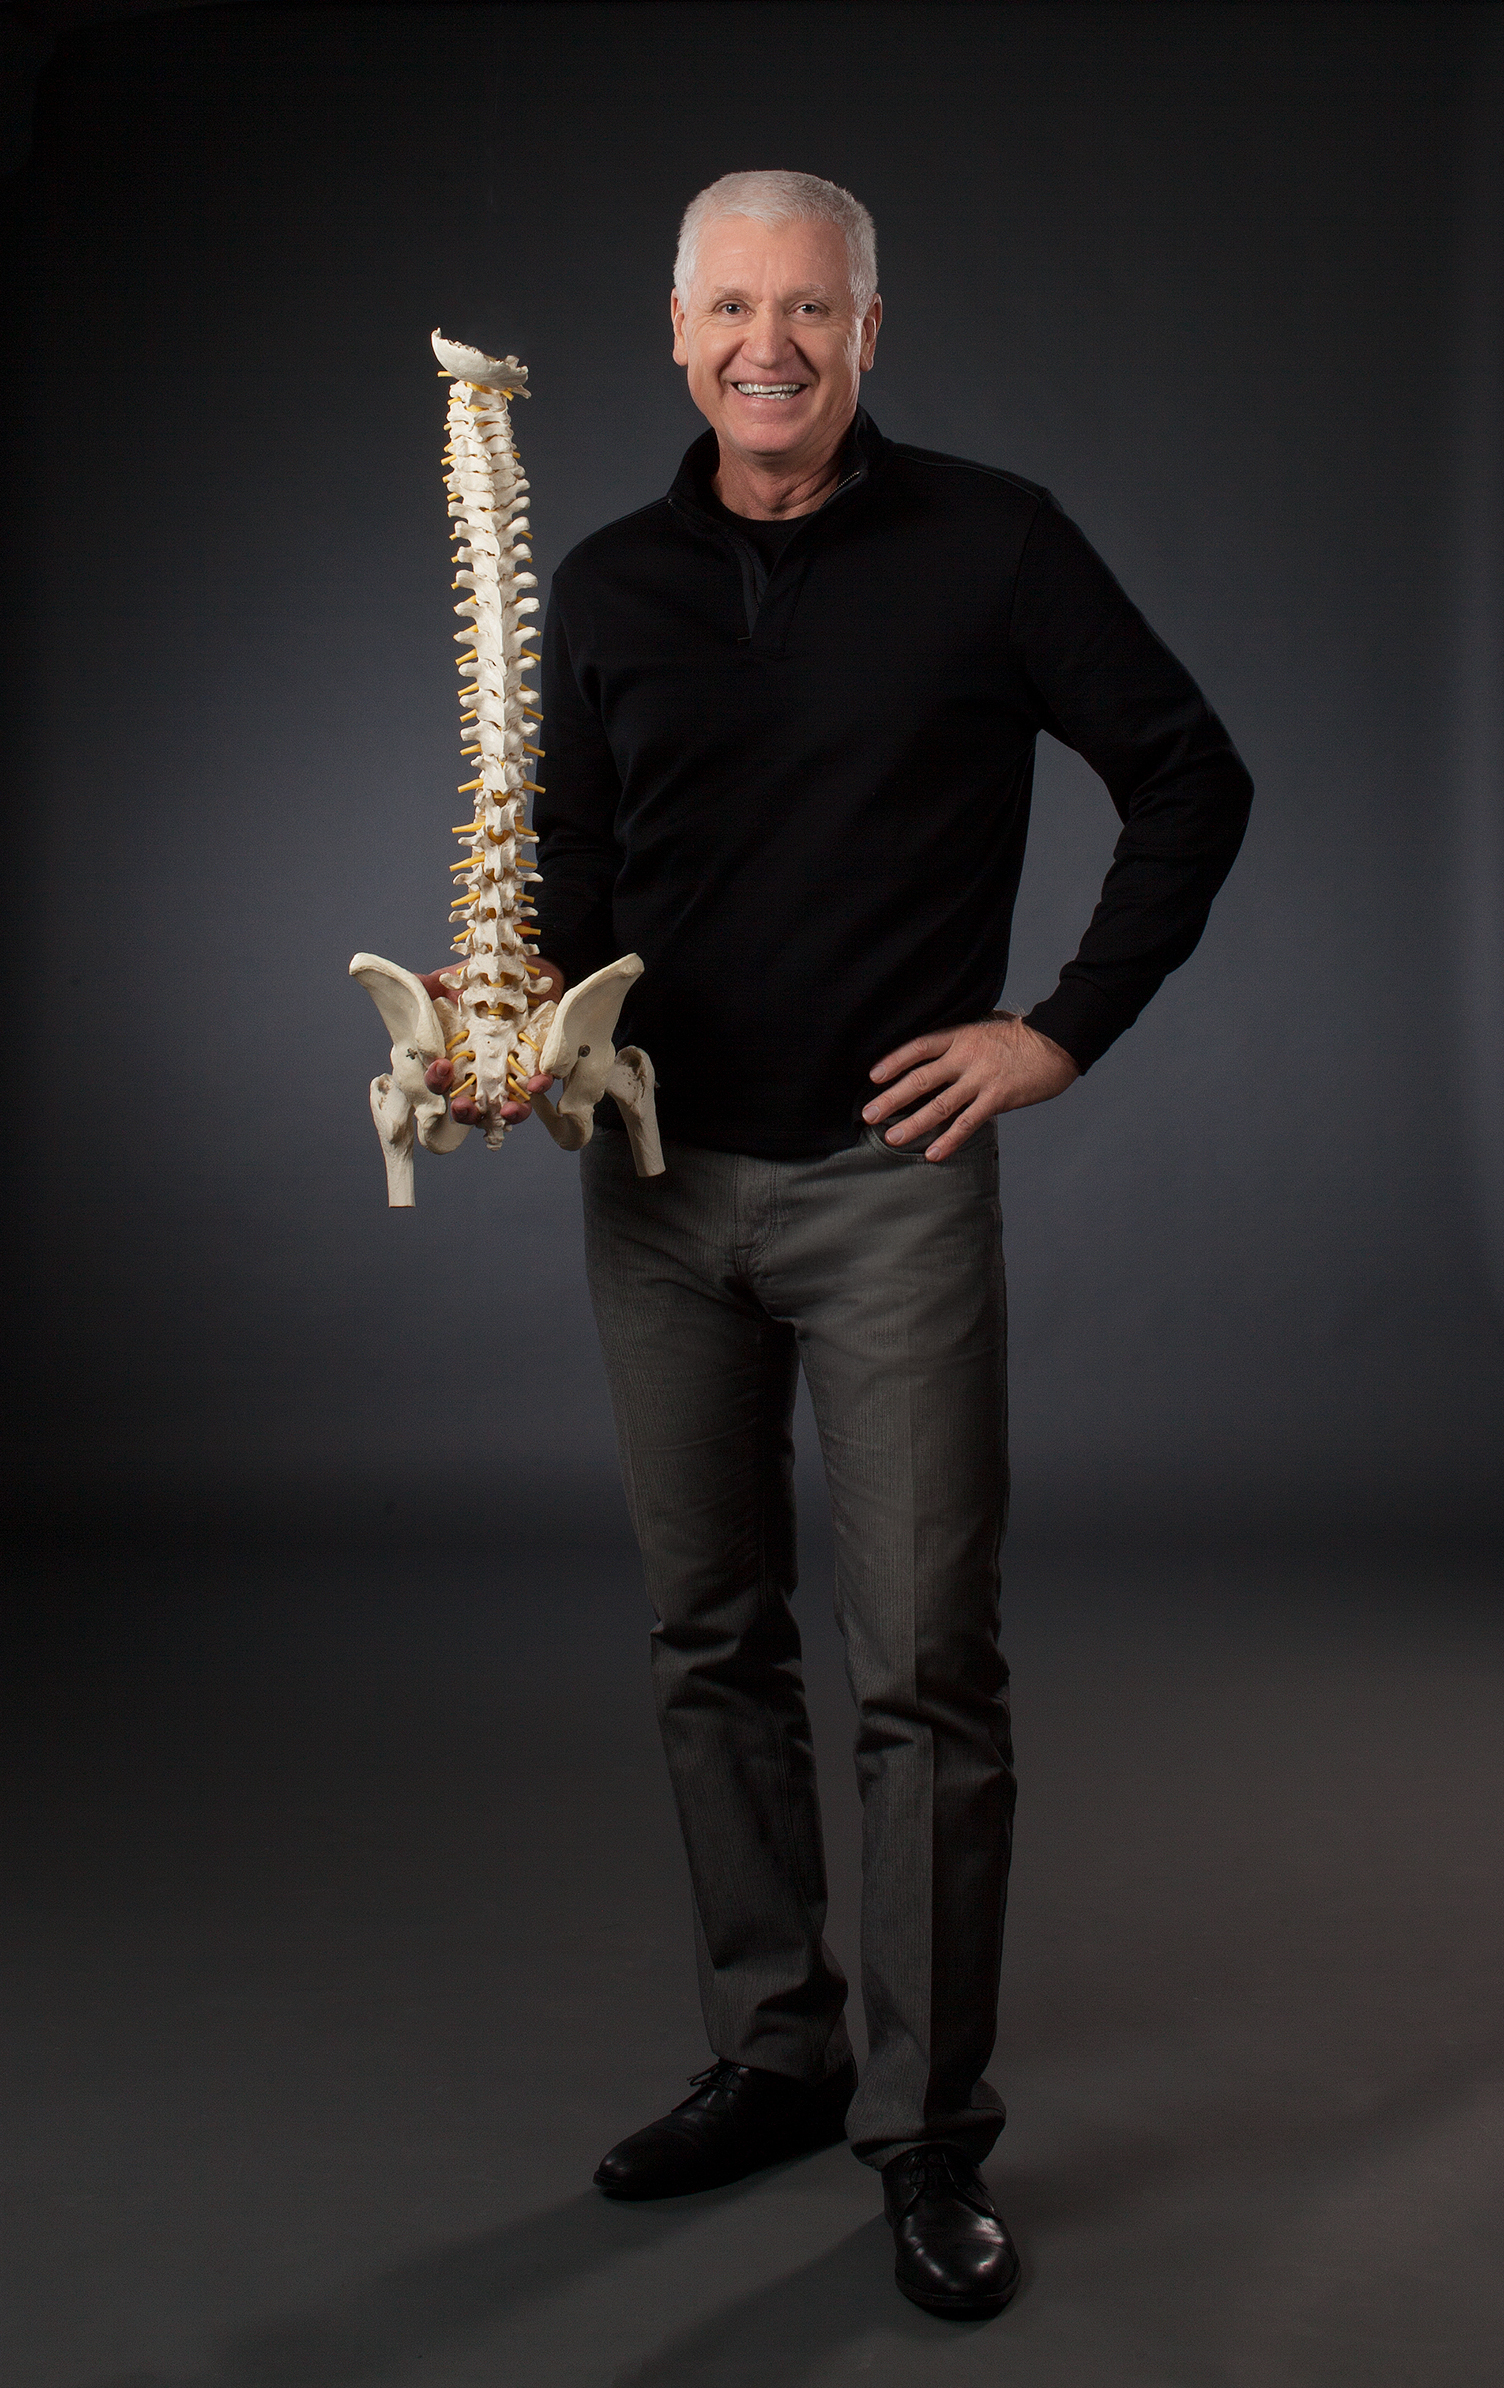
Dr. Ken Dick is a chiropractor who wrote a book about understanding health.
The setting and props should be relevant. Some authors choose to have the picture taken in a setting relevant to the book. But don’t forget the picture is about you, not the place. If you’re a doctor who has published a book about a rare disease, it would make sense for your author photo to be in a medical lab. But, if you’ve written a revenge thriller, there’s no need for your author photo to be on a sunny beach in California.
Choose an appropriate name for your photo. When you save an electronic copy of the final version of your photo, name it something obvious, yet professional like “Your name-headshot.” This is not only to make it easy for you to find, but also to keep it clear and credible if you’re sending it out to journalists or bookstores.
Above all, be natural! This photo is a way for you to engage with your audience, and a way for readers to connect with you. So, keep it genuine, and show your readers who you are as an author.
It may take several angles, settings, smiles and shots, but having an appealing author photo is a crucial aspect of developing your brand and platform.
Say cheese!


[…] Have a professional headshot taken to include with your bio. For more tips on the author headshot, check out these tips. […]